We see a wide spectrum of bikes in the shop. Anything from full carbon race bikes worth thousands of dollars to 70’s cruisers with mostly sentimental value. Because we do repairs, usually people bring their bike in because something has gone wrong. Often they ask “how can I upgrade my bike?” Whether you’re looking for speed, reliability or style, we often want more bike in our bike.
How Can I Upgrade My Bike Cost Effectively?
The most affordable and effective upgrade you can give your bike is proper maintenance. It doesn’t matter if your bike is super light, if the chain is rusted and the tires are flat. Regular cleaning and fixing can also help you identify problems while they are still fixable. A good example is replacing your chain when it is worn. If you wait too long to replace it, an old chain can actually wear out the rest of your drive train. This means a new chain wouldn’t “fit” the wear pattern of your old chainrings and you’ll have to replace the entire system to get your shifting back to what it used to be.
One of the cheapest upgrades you can get is a set of new tires. A flat tire turns your bike into little more than a clunky accessory. Quality tires can reduce your encounters with this inconvenience substantially. I ride Schwalbe Marathon tires, which we carry in the shop. Many times I only notice a patch of glass after its too late to avoid and I ride right over it. With good tires, I roll right over these inevitable obstacles, unscathed. Higher quality tires can also help you grip the road during wet Portland winters.
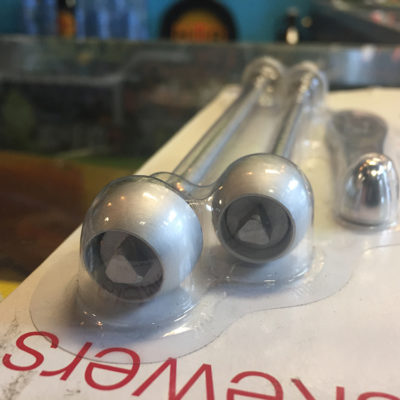
A few other little upgrades that go a long way are your handlebars and saddle. If you are splendidly comfortable on your bike, great! If not, simple adjustments could turn your bike from a pain machine to a joy to ride. I’ve met a lot of people that suffer through uncomfortable saddles or poorly adjusted handlebars simply because they did not realize another way was possible.
Upgrading vs Getting a New Bike
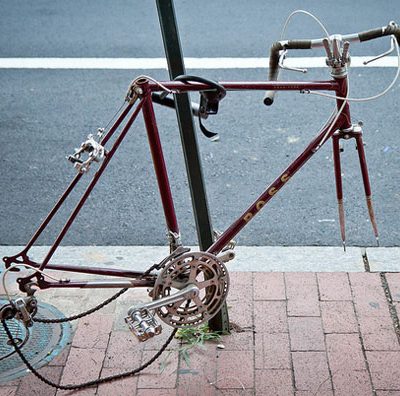
Many people ask for advice on what I would upgrade if it was my bike. Sometimes, I hate to say it, but you’d be better of just getting a new bike altogether. Thrift store bikes are often donated because the owner calculated it was cheaper to donate than fix. Box store bikes are usually designed to be flashy and as cheap as possible. It entirely depends on what kind of riding you’re doing. Not everybody needs a sleek bike with electronic shifting that weighs as much as a sneeze. On the other hand, not everybody can tolerate a 50lb rust bucket that breaks every two or three blocks.
The key is to be honest with yourself about how you use your bike. If you commute in the rain everyday, it probably doesn’t make sense to spend hundreds of dollars on replacing your old steel rims and squeaky old components on your $40 Goodwill bike. You’d be better off spending that money on a new bike altogether. Even the most basic of modern bikes tend to perform better than any bike from the Cold War you’re bound to salvage from a garage sale.
So if you’re wondering “do I need to upgrade my bike, buy a new bike, or just adjust a few things?” come by the shop. We’re more than happy to help you improve your ride experience.